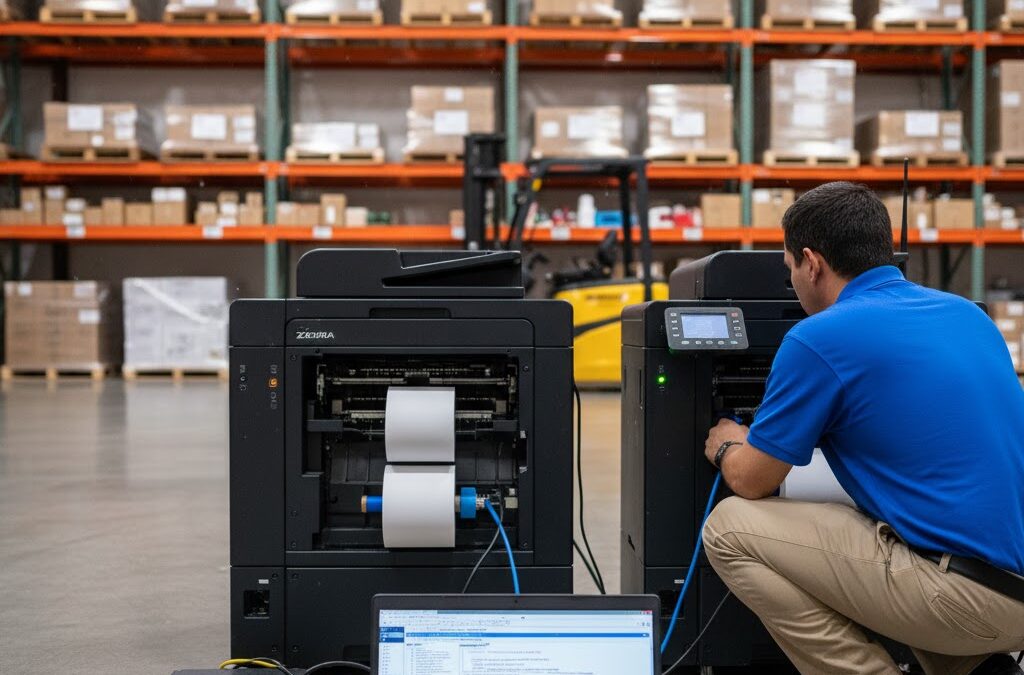
Not long ago, printing ZPL labels required being physically tethered to a printer — a USB cable on every workstation, a local driver on every computer, and endless troubleshooting whenever something disconnected.
That approach worked fine for small setups, but once you start scaling, it becomes chaos.
Modern Zebra printers, however, can be managed completely over the network.
You can send commands, labels, and even diagnostics straight to the printer’s IP address — no local installations, no drivers, and no mess.
Let’s go over exactly how it works, why it’s faster, and what to watch out for when configuring your network printers for ZPL.
The Real Reason to Go Network-Based
Think about it this way: when you print locally, every computer becomes its own print island.
Each workstation must be configured, tested, and maintained separately.
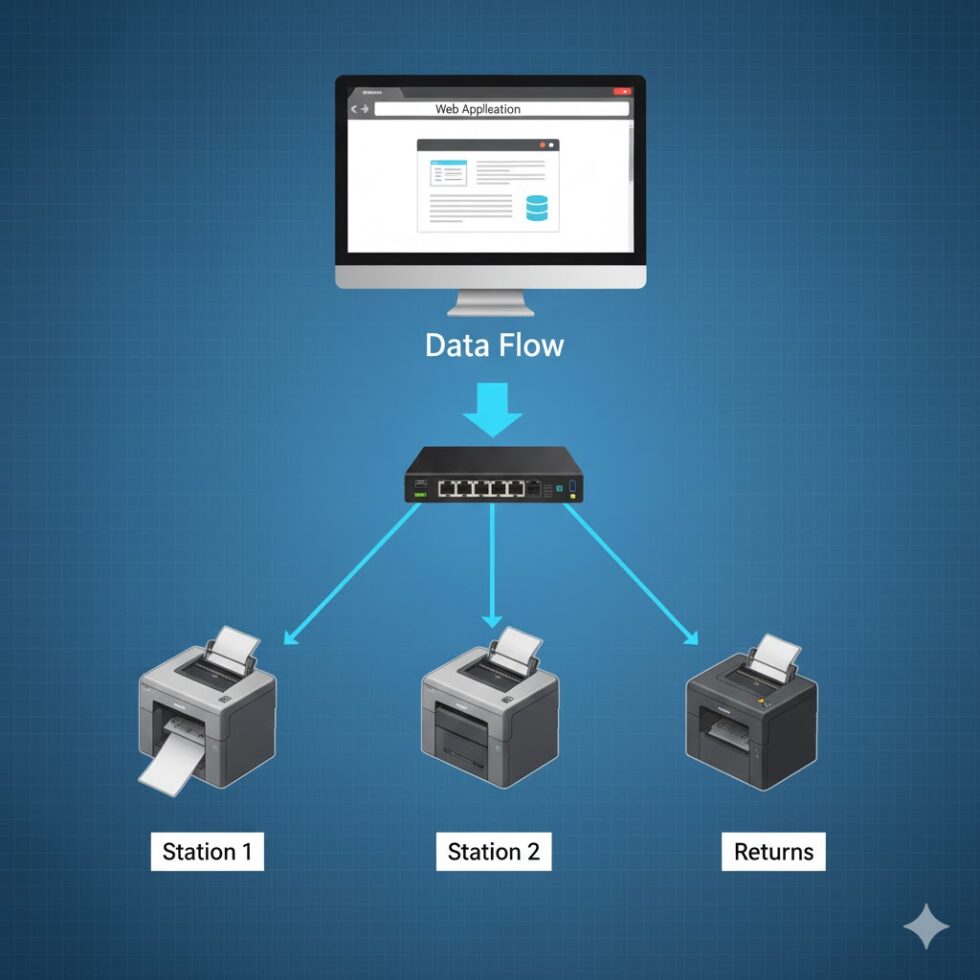
By switching to network printing, you centralize control.
You can manage dozens of printers from a single system — even from the cloud — and send ZPL commands directly over Ethernet or Wi-Fi.
It’s faster, cleaner, and scales beautifully as your operations grow.
Step 1: Connect Your Printer to the Network
Most Zebra models come ready for Ethernet or wireless connectivity.
To get started:
- Plug the printer into your router or switch (Ethernet).
- Power it on and let it obtain an IP address.
- Press and hold the feed button until it prints a Network Configuration Label.
That label lists your printer’s current IP, something like:
192.168.0.105
If you see “0.0.0.0” or “DHCP: Disabled,” enter the printer’s setup menu and enable DHCP or assign a static IP.
Step 2: Test a Simple Connection
Before diving into code, confirm the printer is reachable.
Open Command Prompt (Windows) or Terminal (Mac/Linux) and run:
ping 192.168.0.105
If you get a reply, you’re good.
Now, send a quick ZPL test.
On Windows:
copy test.zpl \192.168.0.105ZPL
On Mac/Linux:
cat test.zpl | nc 192.168.0.105 9100
Port 9100 is the default RAW printing port for most Zebra printers.
The label should print instantly.
Step 3: Embed It Into Your Workflow
In production, no one has time to manually send files.
Your goal should be to integrate ZPL sending directly into your system — whether that’s your ERP, warehouse platform, or a small app that generates shipping labels.
For example, an e-commerce platform can automatically create ZPL code for each order, then route it to the correct printer IP.
If your packing area has four printers, each can handle different shipping carriers simply by mapping the destination IP address.
Step 4: Common Pitfalls (and How to Fix Them)
Even a simple setup can break if one link in the chain is off. Here are the usual suspects:
- Firewall blocking port 9100 – Allow outgoing TCP connections.
- Dynamic IP changes – Assign static IPs to avoid confusion.
- Encoding errors – Always use UTF-8 text files, no BOM.
- Incorrect printer mode – Check that your device is set to ZPL, not EPL or CPCL.
If your printer doesn’t respond, try sending a blank file first to confirm communication.
If it does respond but prints random symbols, you’re likely sending ASCII or binary data incorrectly formatted.
Step 5: When to Use Direct Network Printing vs. Print Servers
Direct printing (sending ZPL straight to a printer IP) is perfect for small to medium setups — fast, reliable, and simple.
However, if you manage dozens of printers or use multiple buildings, a lightweight print server or queue manager can add resilience.
It keeps logs, retries failed prints, and balances network load.
Still, the underlying method remains the same — you’re sending ZPL text over port 9100.
Real Example: Centralized Printing in Action
A logistics firm in Seattle used to have one dedicated PC per shipping line, each connected to a single Zebra printer.
Updating templates was painful; every small change meant touching ten computers.
Now, all their Zebra printers are on the same internal network.
Their ERP automatically generates ZPL for every order and sends it to the correct printer based on zone.
What used to take half a day to deploy now happens in seconds.
Wrapping It Up
Sending ZPL over the network isn’t just a convenience — it’s the backbone of efficient, modern labeling.
Once your printers are configured, you can print from any device, anywhere, and scale without ever plugging in another cable.
Before pushing your next label live, preview and test your ZPL output with a zpl viewer to ensure alignment, barcodes, and images look exactly as expected.
A few seconds of validation online can save you from hours of wasted labels later.