If you’ve ever worked with Zebra printers or ZPL code, you know the drill: write your commands, upload them to the printer, print a label… and then realize it’s completely misaligned. Or the barcode is unreadable. Or the text is cut off.
This print-check-repeat process wastes hours — and hundreds of labels — every month. But here’s the good news: you don’t actually need a physical printer to preview ZPL files anymore.
Thanks to modern cloud-based ZPL viewers, you can visualize, debug, and validate your labels directly in the browser before they ever touch a printer. In this guide, I’ll show you how to preview ZPL labels step by step, why it’s more reliable, and how to integrate this approach into your workflow.
1. Understanding ZPL and Why Previewing Matters
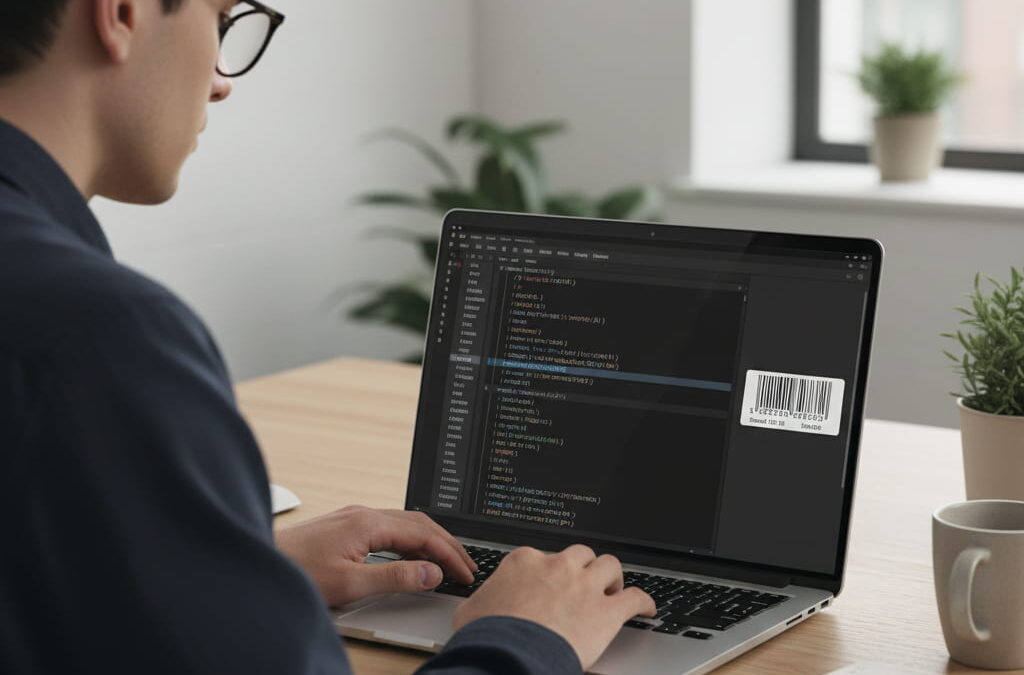
ZPL (Zebra Programming Language) is a command-based language used to define the structure of a label — everything from text placement and font to barcode dimensions and image locations.
While it’s incredibly powerful, ZPL is also text-only, which means you don’t know how your label will look until it’s printed. That’s where issues arise:
- Misaligned elements due to coordinate errors
- Incorrect barcode sizes that scanners can’t read
- Text overflowing outside the label boundary
- DPI mismatches causing distorted images
With a cloud ZPL viewer, you bypass all of that. Instead of relying on a printer to test results, you get an instant on-screen preview, saving time and reducing costly mistakes.
2. Why You Should Stop Relying on Hardware for Testing
Here’s why printing for testing is now an outdated workflow:
- Faster development: Preview labels instantly without wasting time connecting devices.
- Cheaper QA: No more wasted rolls of labels or printer ribbon.
- Remote collaboration: Your team can review label layouts from anywhere.
- Error prevention: Cloud viewers can even highlight syntax issues before printing.
Even if you’re using a local tool like ZebraDesigner or Labelary, switching to an online viewer is a major productivity boost — especially for larger teams or SaaS platforms generating ZPL dynamically.

3. How to Preview ZPL Without a Printer – Step by Step
Let’s walk through how most online ZPL viewers work. The process is simple and takes less than two minutes.
Step 1: Get Your ZPL File Ready
Export your ZPL file from your software or copy the raw code. Most viewers accept .zpl, .txt, or plain-text commands pasted directly.
Step 2: Open a Cloud ZPL Viewer
Choose a reliable browser-based viewer — no installation required. These tools work directly from your browser, so you can preview from any device.
Pro Tip: For a deeper explanation of how online visualization works, check out our Online ZPL Viewer guide — it covers advanced settings and compatibility details.
Step 3: Upload or Paste the Code
Drag and drop your file into the viewer or paste the code into the editor panel. The system will parse your ZPL and convert it into a visual preview almost instantly.
Step 4: Adjust Settings (Optional)
Many viewers allow you to configure options like:
- DPI (203, 300, or 600)
- Label width and height
- Orientation and margins
- Print darkness
These adjustments help you replicate your printer’s actual environment for a more accurate preview.
Step 5: Validate and Export (Optional)
Now you can visually inspect the label. Make sure everything aligns, barcodes scan correctly, and text is formatted as expected. Some tools even let you export the rendered image as PNG or PDF for documentation or QA approval.
4. Common Issues Previewing Solves
If you’re still unsure whether this workflow is worth adopting, here are a few examples of real-world issues it eliminates:
| Problem | How Previewing Helps |
| Text cutoff or overlap | Adjust positioning before printing |
| Barcode unreadable | Preview size and density instantly |
| Elements misaligned | Visual feedback shows exact placement |
| Printer errors | Viewers detect unsupported commands |
| DPI mismatch | Simulate print environment before testing |
By solving these problems before they happen, you reduce wasted materials, prevent shipping delays, and speed up your entire labeling process.
5. Best Practices for a Printer-Free ZPL Workflow
Once you start using online preview tools, here are a few best practices to keep things running smoothly:
- Validate early: Don’t wait until the end — preview labels during development.
- Automate QA: Use a viewer API to validate labels in CI/CD pipelines.
- Version control your templates: Store .zpl files in Git to track changes.
- Standardize DPI settings: Match your production printers to reduce surprises.
- Use sample data: Test with realistic variable values to ensure dynamic fields render properly.
Conclusion: Previewing ZPL in the Cloud Is the New Standard
Printing just to see how a label looks is a workflow from 2010. In 2025, teams need faster, more efficient, and more scalable solutions. With a cloud ZPL viewer, you can preview your label in seconds, eliminate costly errors, and collaborate seamlessly — all without ever touching a printer.
Whether you’re a developer, warehouse manager, or SaaS engineer, switching to a printer-free preview workflow will save you time, money, and frustration on every label you produce.