
Fonts are often an afterthought when creating labels — until something goes wrong.
Suddenly, the perfectly aligned layout shifts, text is too small, or a customer’s name disappears because the font wasn’t supported.
In Zebra Programming Language (ZPL), fonts play a central role in label readability and compatibility.
Whether you’re printing addresses, barcodes, or serial codes, knowing how to select and manage ZPL fonts can make or break your design.
This guide breaks down everything you need to know about using fonts in ZPL, embedding custom typefaces, and ensuring your labels print consistently across devices.
Understanding ZPL Fonts
Zebra printers come preloaded with a set of built-in fonts, labeled A through Z.
Each one varies in size, spacing, and style, making them useful for different purposes.
Here’s a quick overview of the most common ones:
| Font | Description | Typical Use |
| A | 9×5 dots, sans-serif | Small text, addresses |
| B | 11×7 dots | Medium body text |
| C | 18×10 dots | Headings or warnings |
| D | 18×10 dots, proportional | More natural text spacing |
| E | 24×12 dots | Large, readable labels |
| 0 | Scalable (Swiss 721 BT) | Clean, modern, highly flexible |
Fonts A–E are bitmap-based and fixed-size, while font 0 is scalable.
That scalability allows you to specify any size or DPI, which is ideal for complex layouts or varying label dimensions.
Changing Font Size and Orientation
ZPL makes it simple to modify font size dynamically:
^A0N,60,50
^FDProduct Name^FS
This command sets:
- Font 0 (Swiss 721)
- Normal orientation (N)
- Height: 60 dots, Width: 50 dots
To rotate text, change N to R (right), I (inverted), or B (bottom-up).
Pro Tip: Always test font scaling on the actual printer model, as visual renderings can vary slightly between devices.
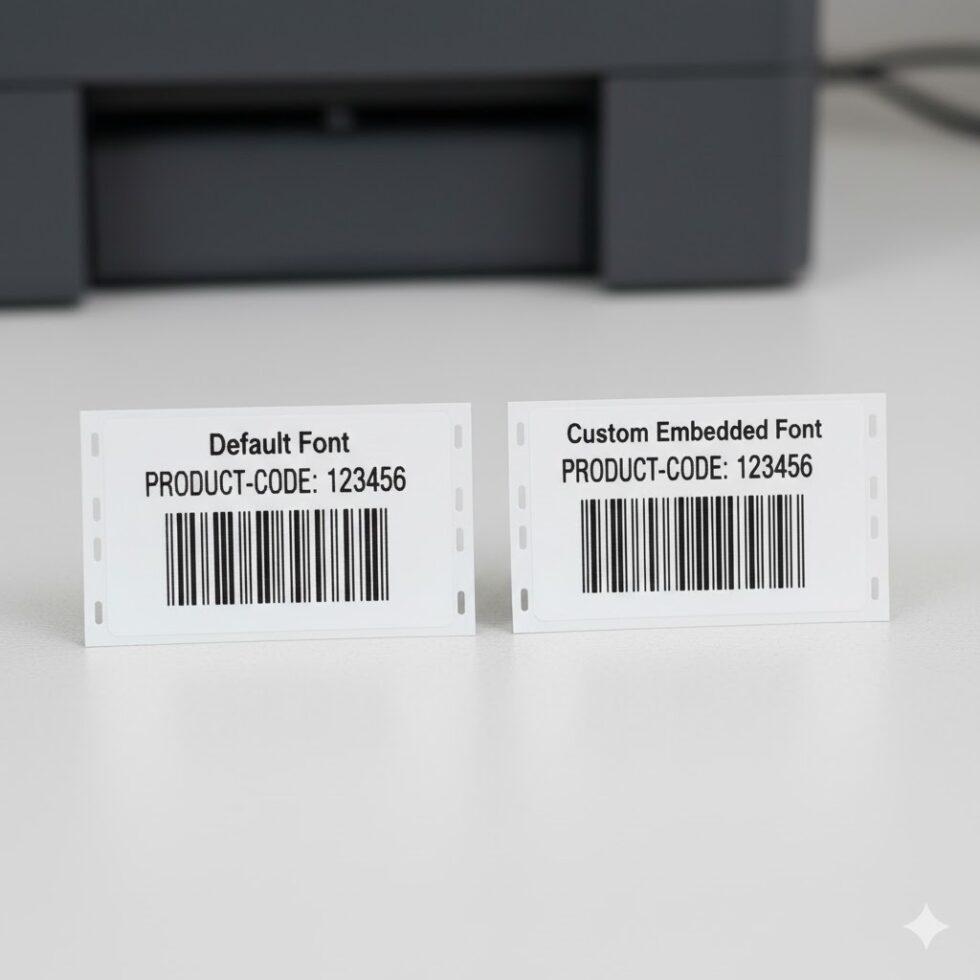
Embedding Custom Fonts
Sometimes, you need more than Zebra’s defaults — maybe a branded font or a special character set.
In that case, you can download custom fonts directly to the printer’s memory.
Steps to Add a Custom Font:
- Convert the font to Zebra Font (ZSU) format using Zebra Setup Utilities.
- Upload it via USB, FTP, or network connection.
- Assign it a letter (e.g., R: drive for RAM).
Use the following code:
^CW1,R:MYFONT.TTF
^A1N,60,40
^FDHello World!^FS
- Print a test label to verify the new font renders correctly.
Dealing With Missing or Unsupported Fonts
If your printed labels show incorrect characters or blank spaces, the issue is almost always font compatibility.
Some characters (like accented letters or symbols) don’t exist in older ZPL fonts.
To avoid this:
- Always use UTF-8 encoding.
- Prefer font 0 for flexibility.
- Double-check that your printer firmware supports downloadable fonts.
Optimizing Fonts for Barcodes and Readability
While fonts add style, remember that labels exist to be scanned and read — not admired.
Avoid serif fonts or decorative styles for barcodes, as they can distort scanning accuracy.
For barcodes and alphanumeric codes, stick with Zebra’s native OCR-B or Swiss 721 options.
Also, balance font size with print speed: higher resolution or larger fonts increase print time, especially on older printers.
Unicode and International Characters
If you print labels in multiple languages, font selection becomes even more important.
Zebra’s scalable fonts support Unicode, allowing you to print characters from multiple scripts — from Latin to Cyrillic or Japanese.
To enable Unicode printing:
^CI28
This tells the printer to interpret text as UTF-8, ensuring symbols and accents print correctly across regions.
Final Thoughts
ZPL fonts are far more powerful than most users realize.
They influence not just how your label looks, but also how efficiently it prints and how compatible it remains across printers.
By understanding the built-in font set, using scalable options, and embedding custom fonts wisely, you’ll create labels that are clean, consistent, and brand-aligned.
And before printing in bulk, always verify your layout and text rendering with a zpl viewer — it’s the fastest way to catch font or spacing issues before wasting labels.